
How to Print and Assemble Large Format and A4 Print-at-Home Sewing Patterns
One of the biggest joys of digital sewing patterns is instant access—you can download and start your project right away without waiting for shipping.
When you purchase a Templiq sewing pattern, your download includes:
An A4/US Letter print-at-home pattern
A full-scale A0 copy shop file
This gives you the flexibility to either print at home or use a local print service.
What is an A0 Sewing Pattern?
An A0 sheet is a large-format paper measuring 841mm x 1188mm (33.1" x 46.8"). Copy shops can print this full-size file so you don’t need to tape pages together.

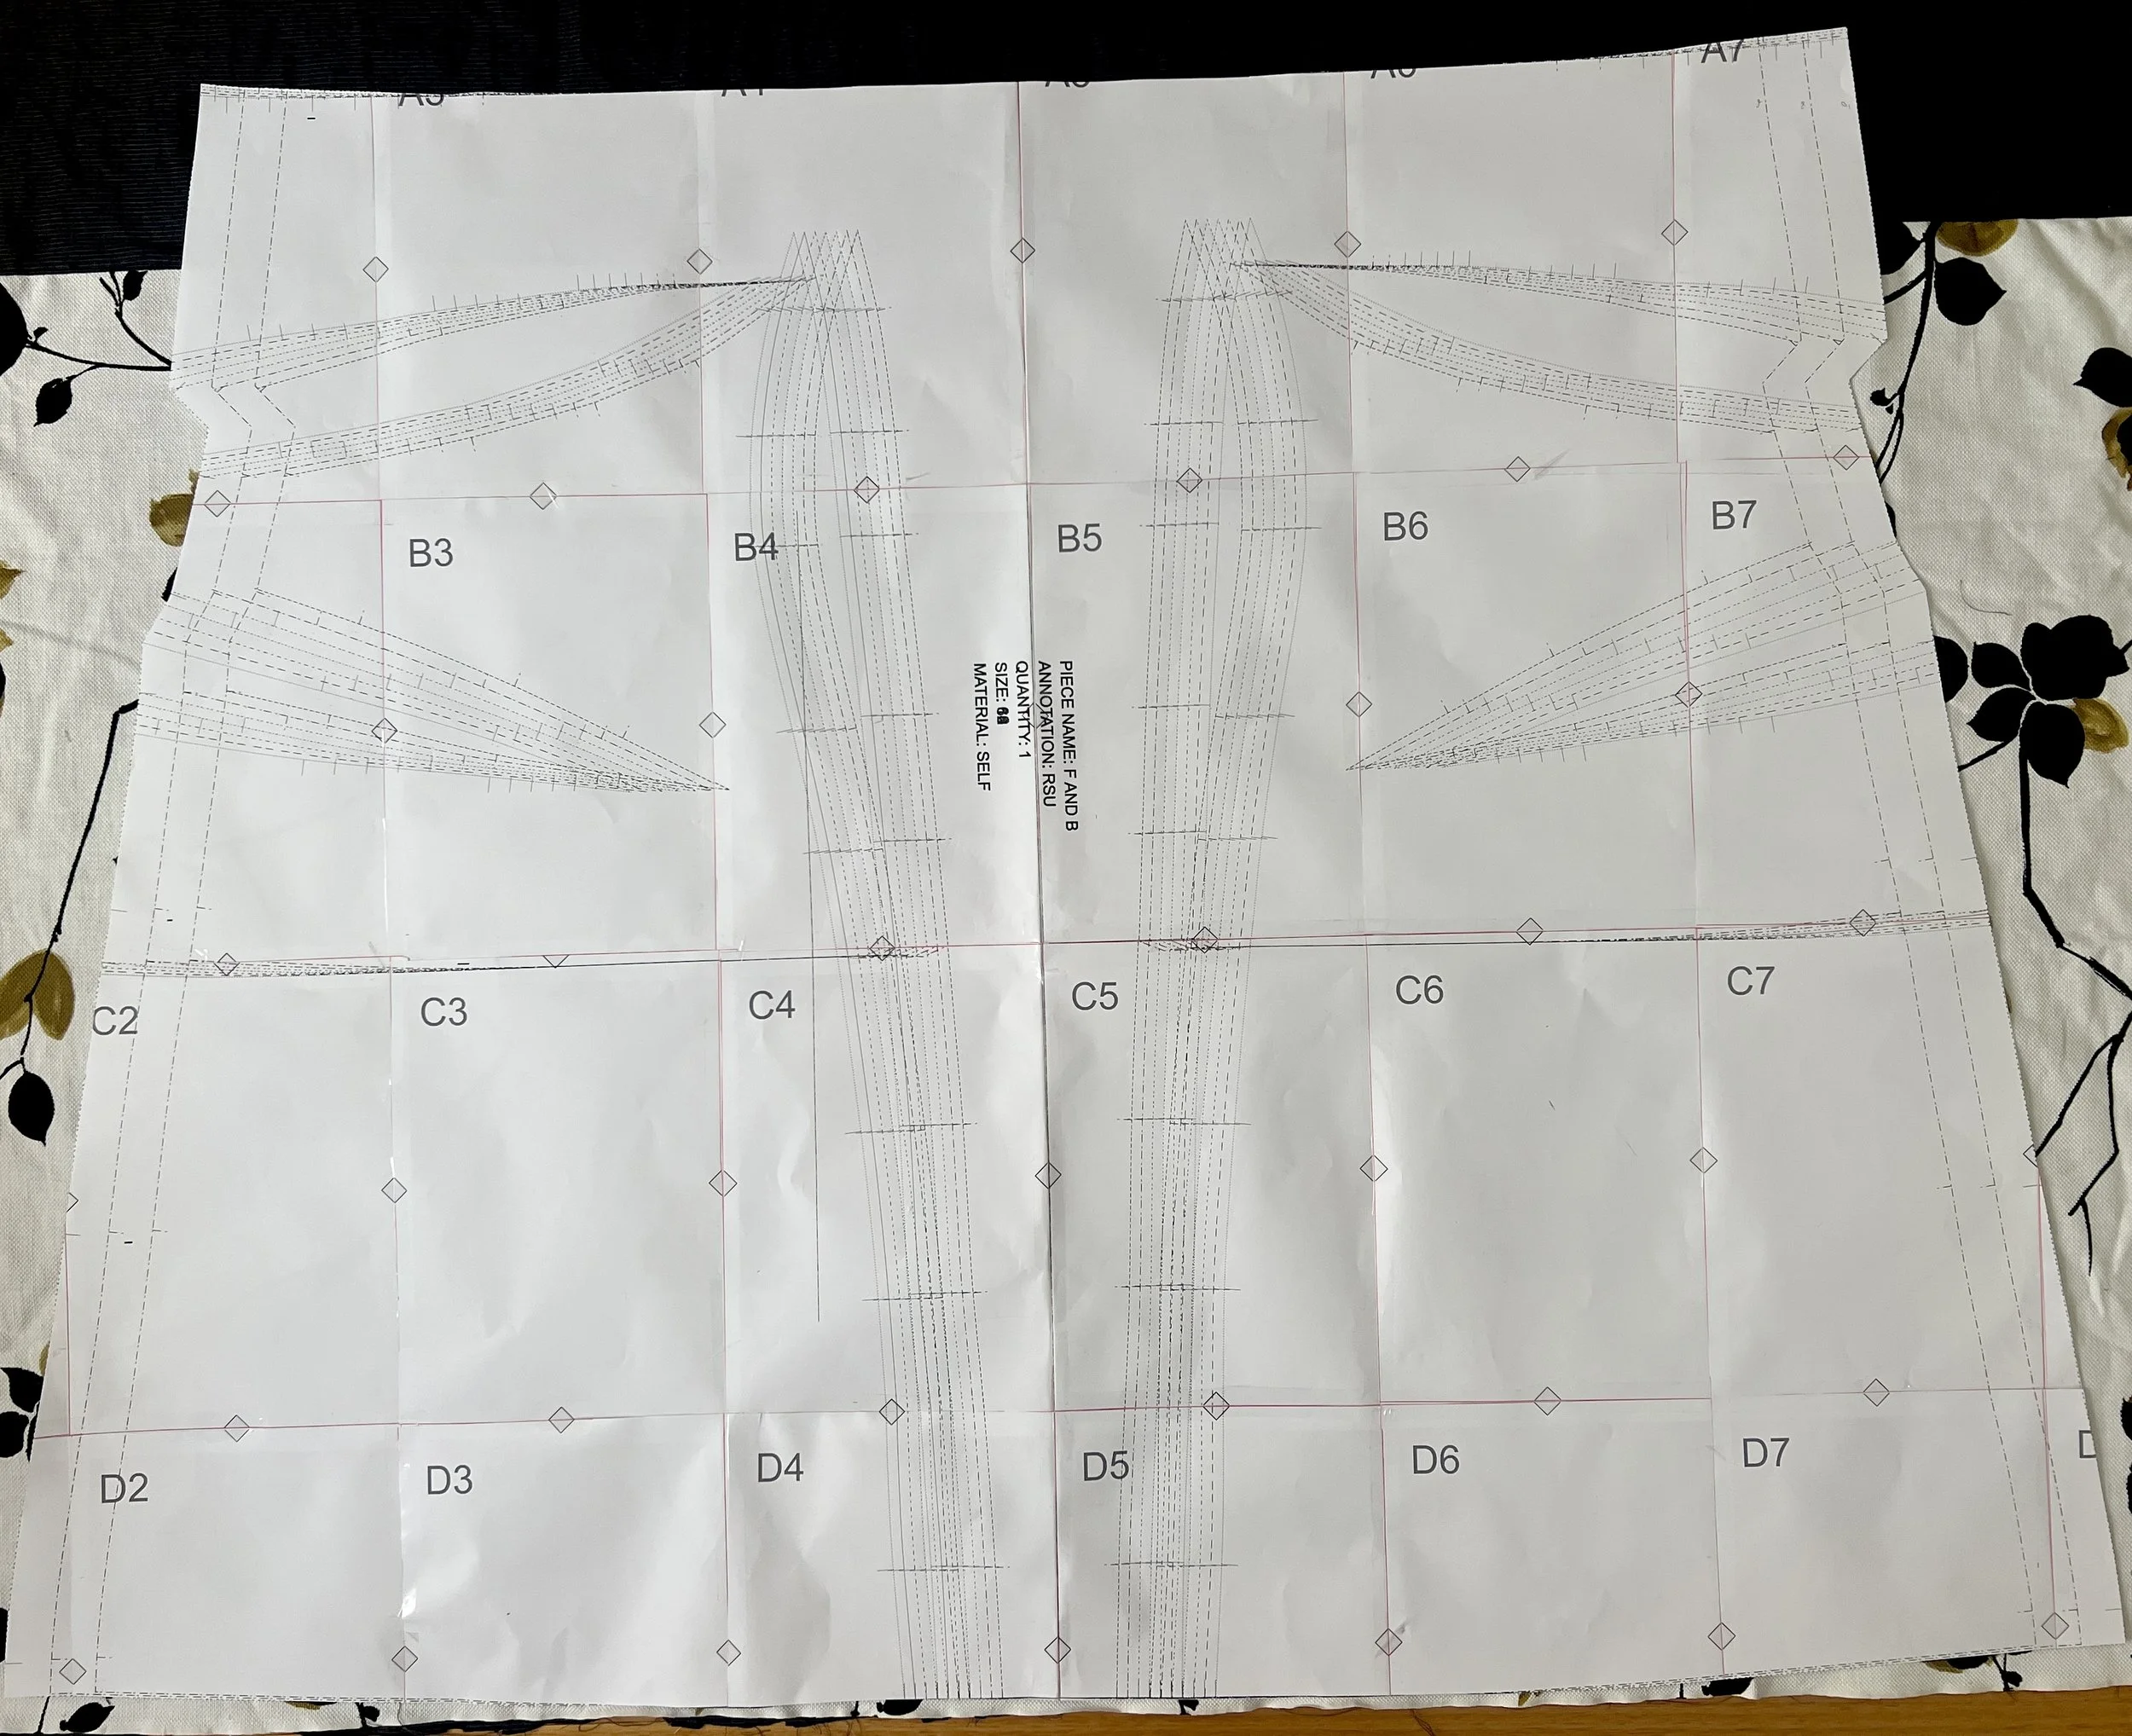
Labyrinth dress and Top. 1 piece pattern
An A4 (or US Letter) pattern comes in tiled pages that need to be assembled like a puzzle to create the full-size sewing pattern.
A4 pattern
How to Assemble an A4 Print-at-Home Sewing Pattern
What You’ll Need
Your printed pattern pages (printed at 100% / actual size)
A flat surface (large table or floor)
Scissors or paper trimmer
Clear tape or glue stick
Pattern weights (optional but handy)
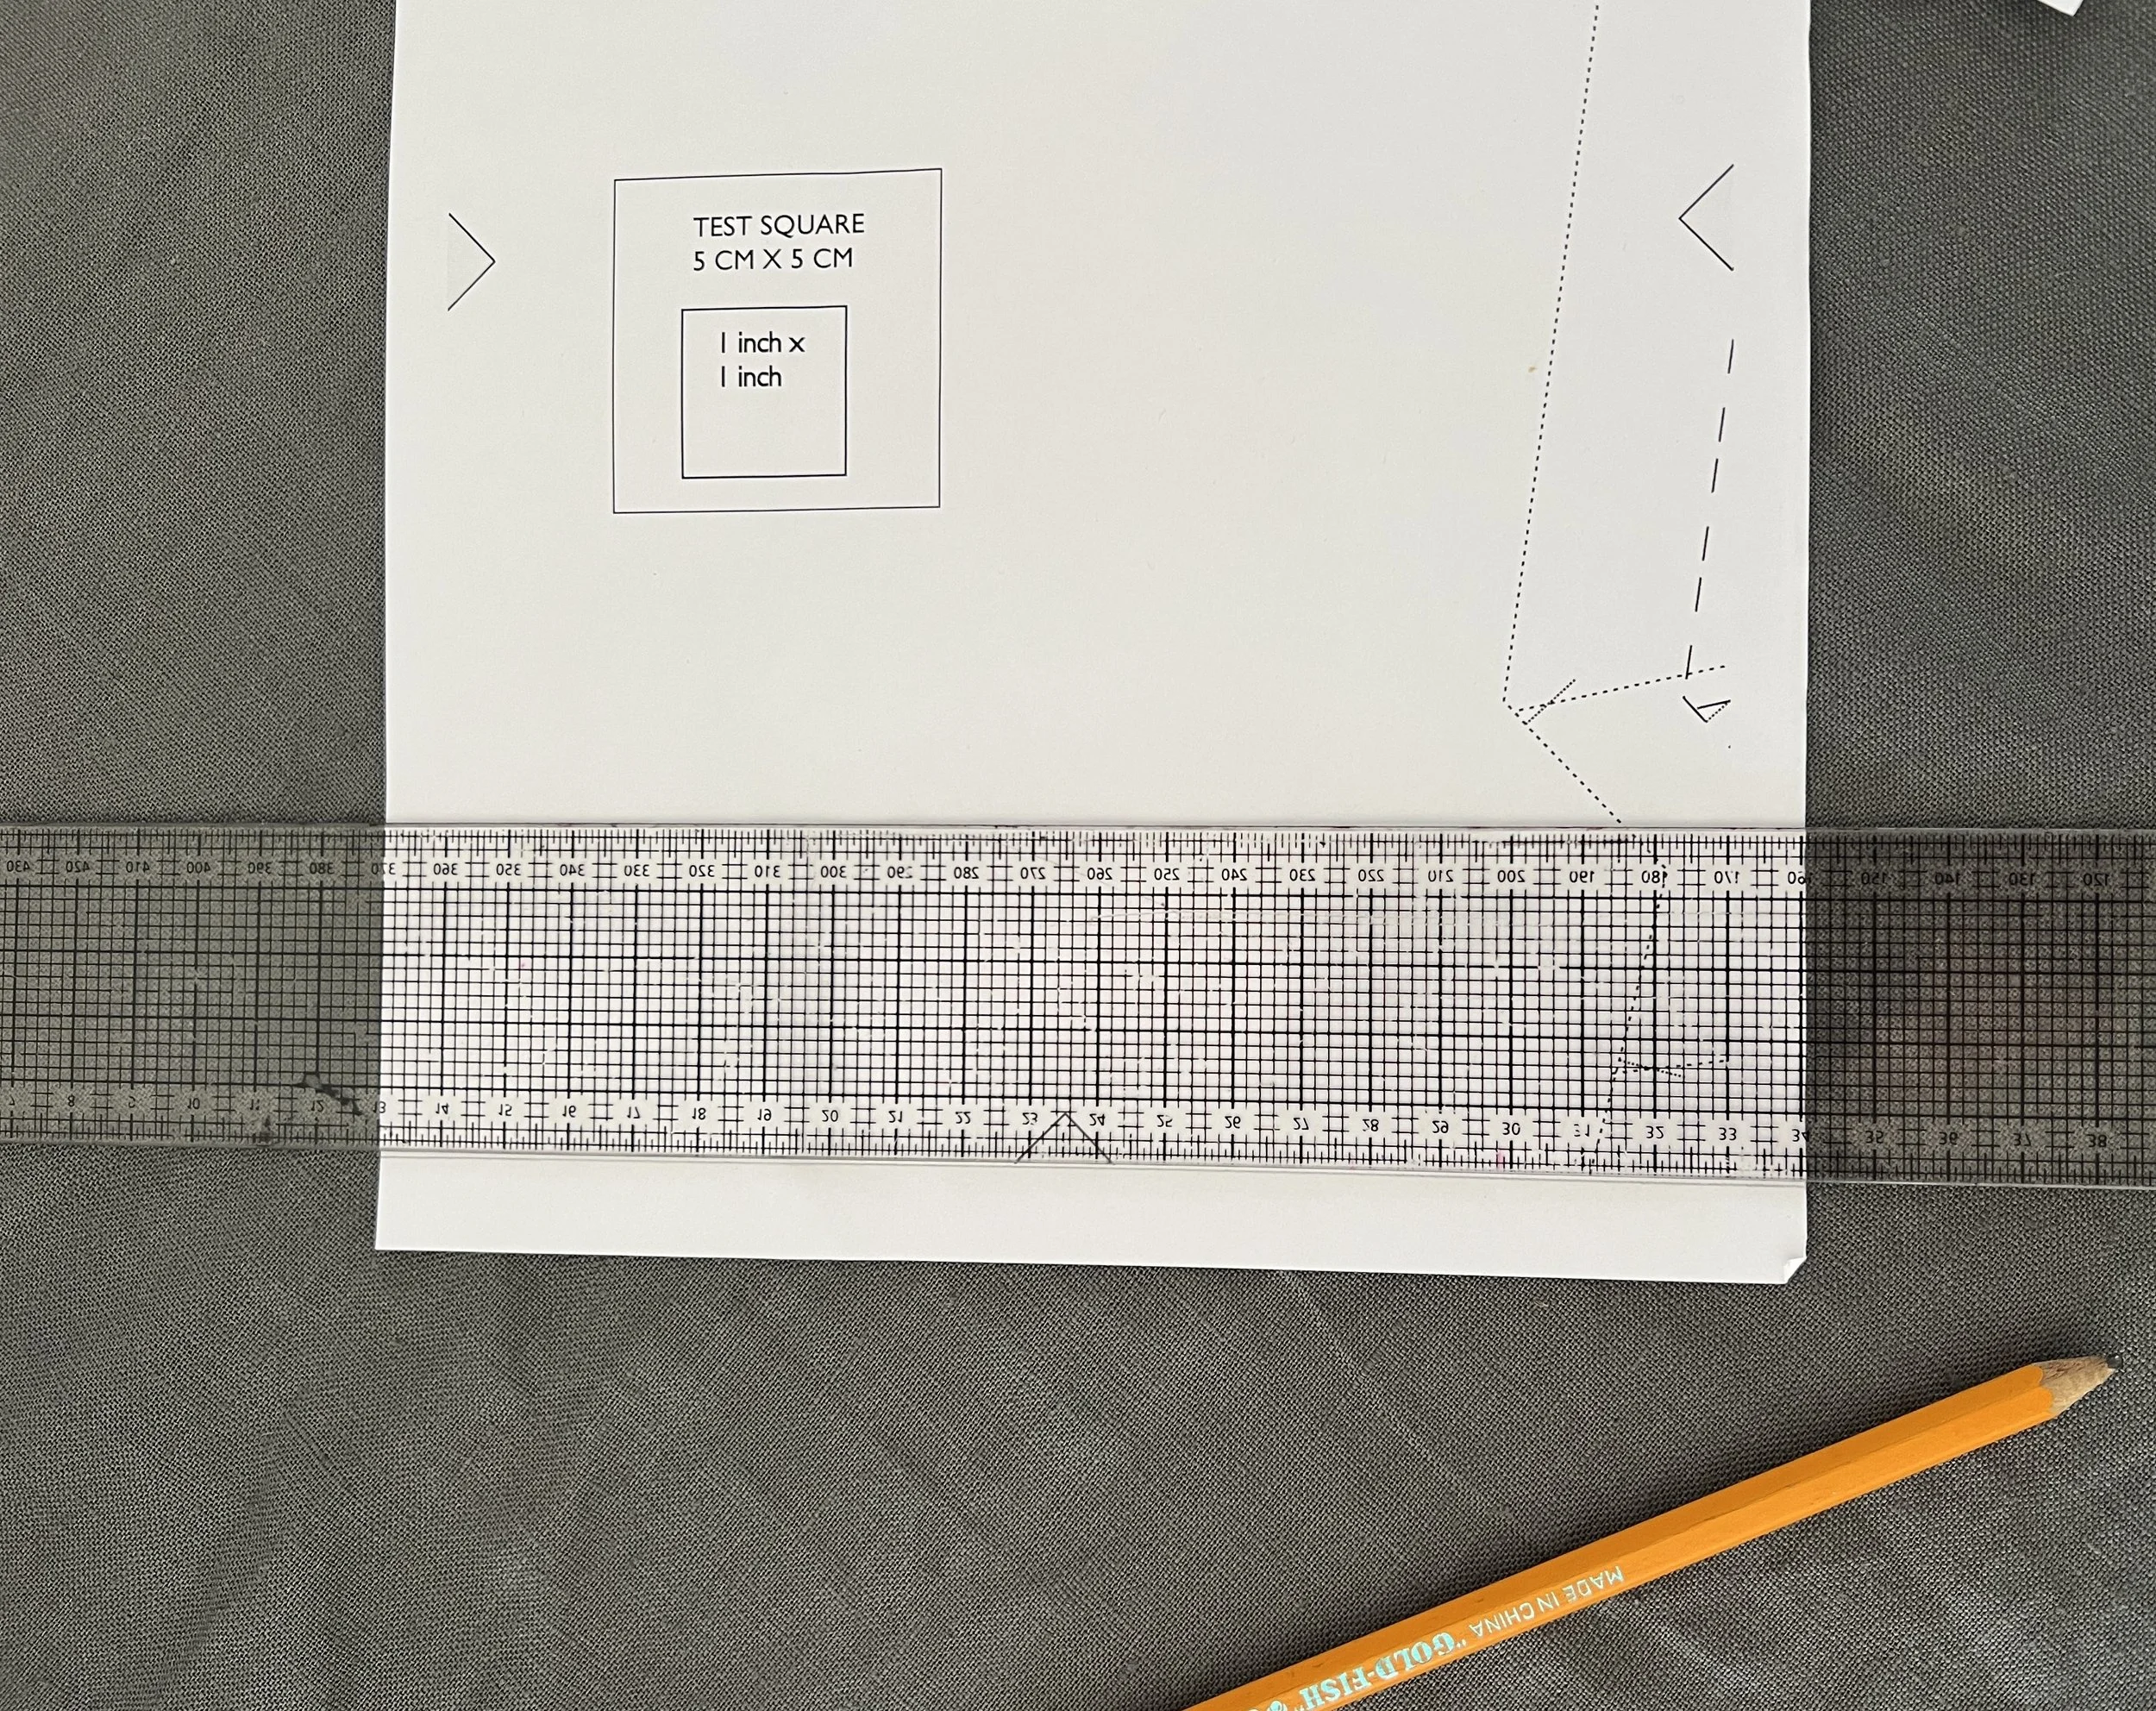
Step 1: Print and Check the Test Square
Most patterns include a test square (5cm x 5cm or 1" x 1"). Print this page first and measure carefully:
If it’s accurate → continue printing.
If not → adjust printer settings to “Actual Size” or “100%” (not “Fit to Page”).
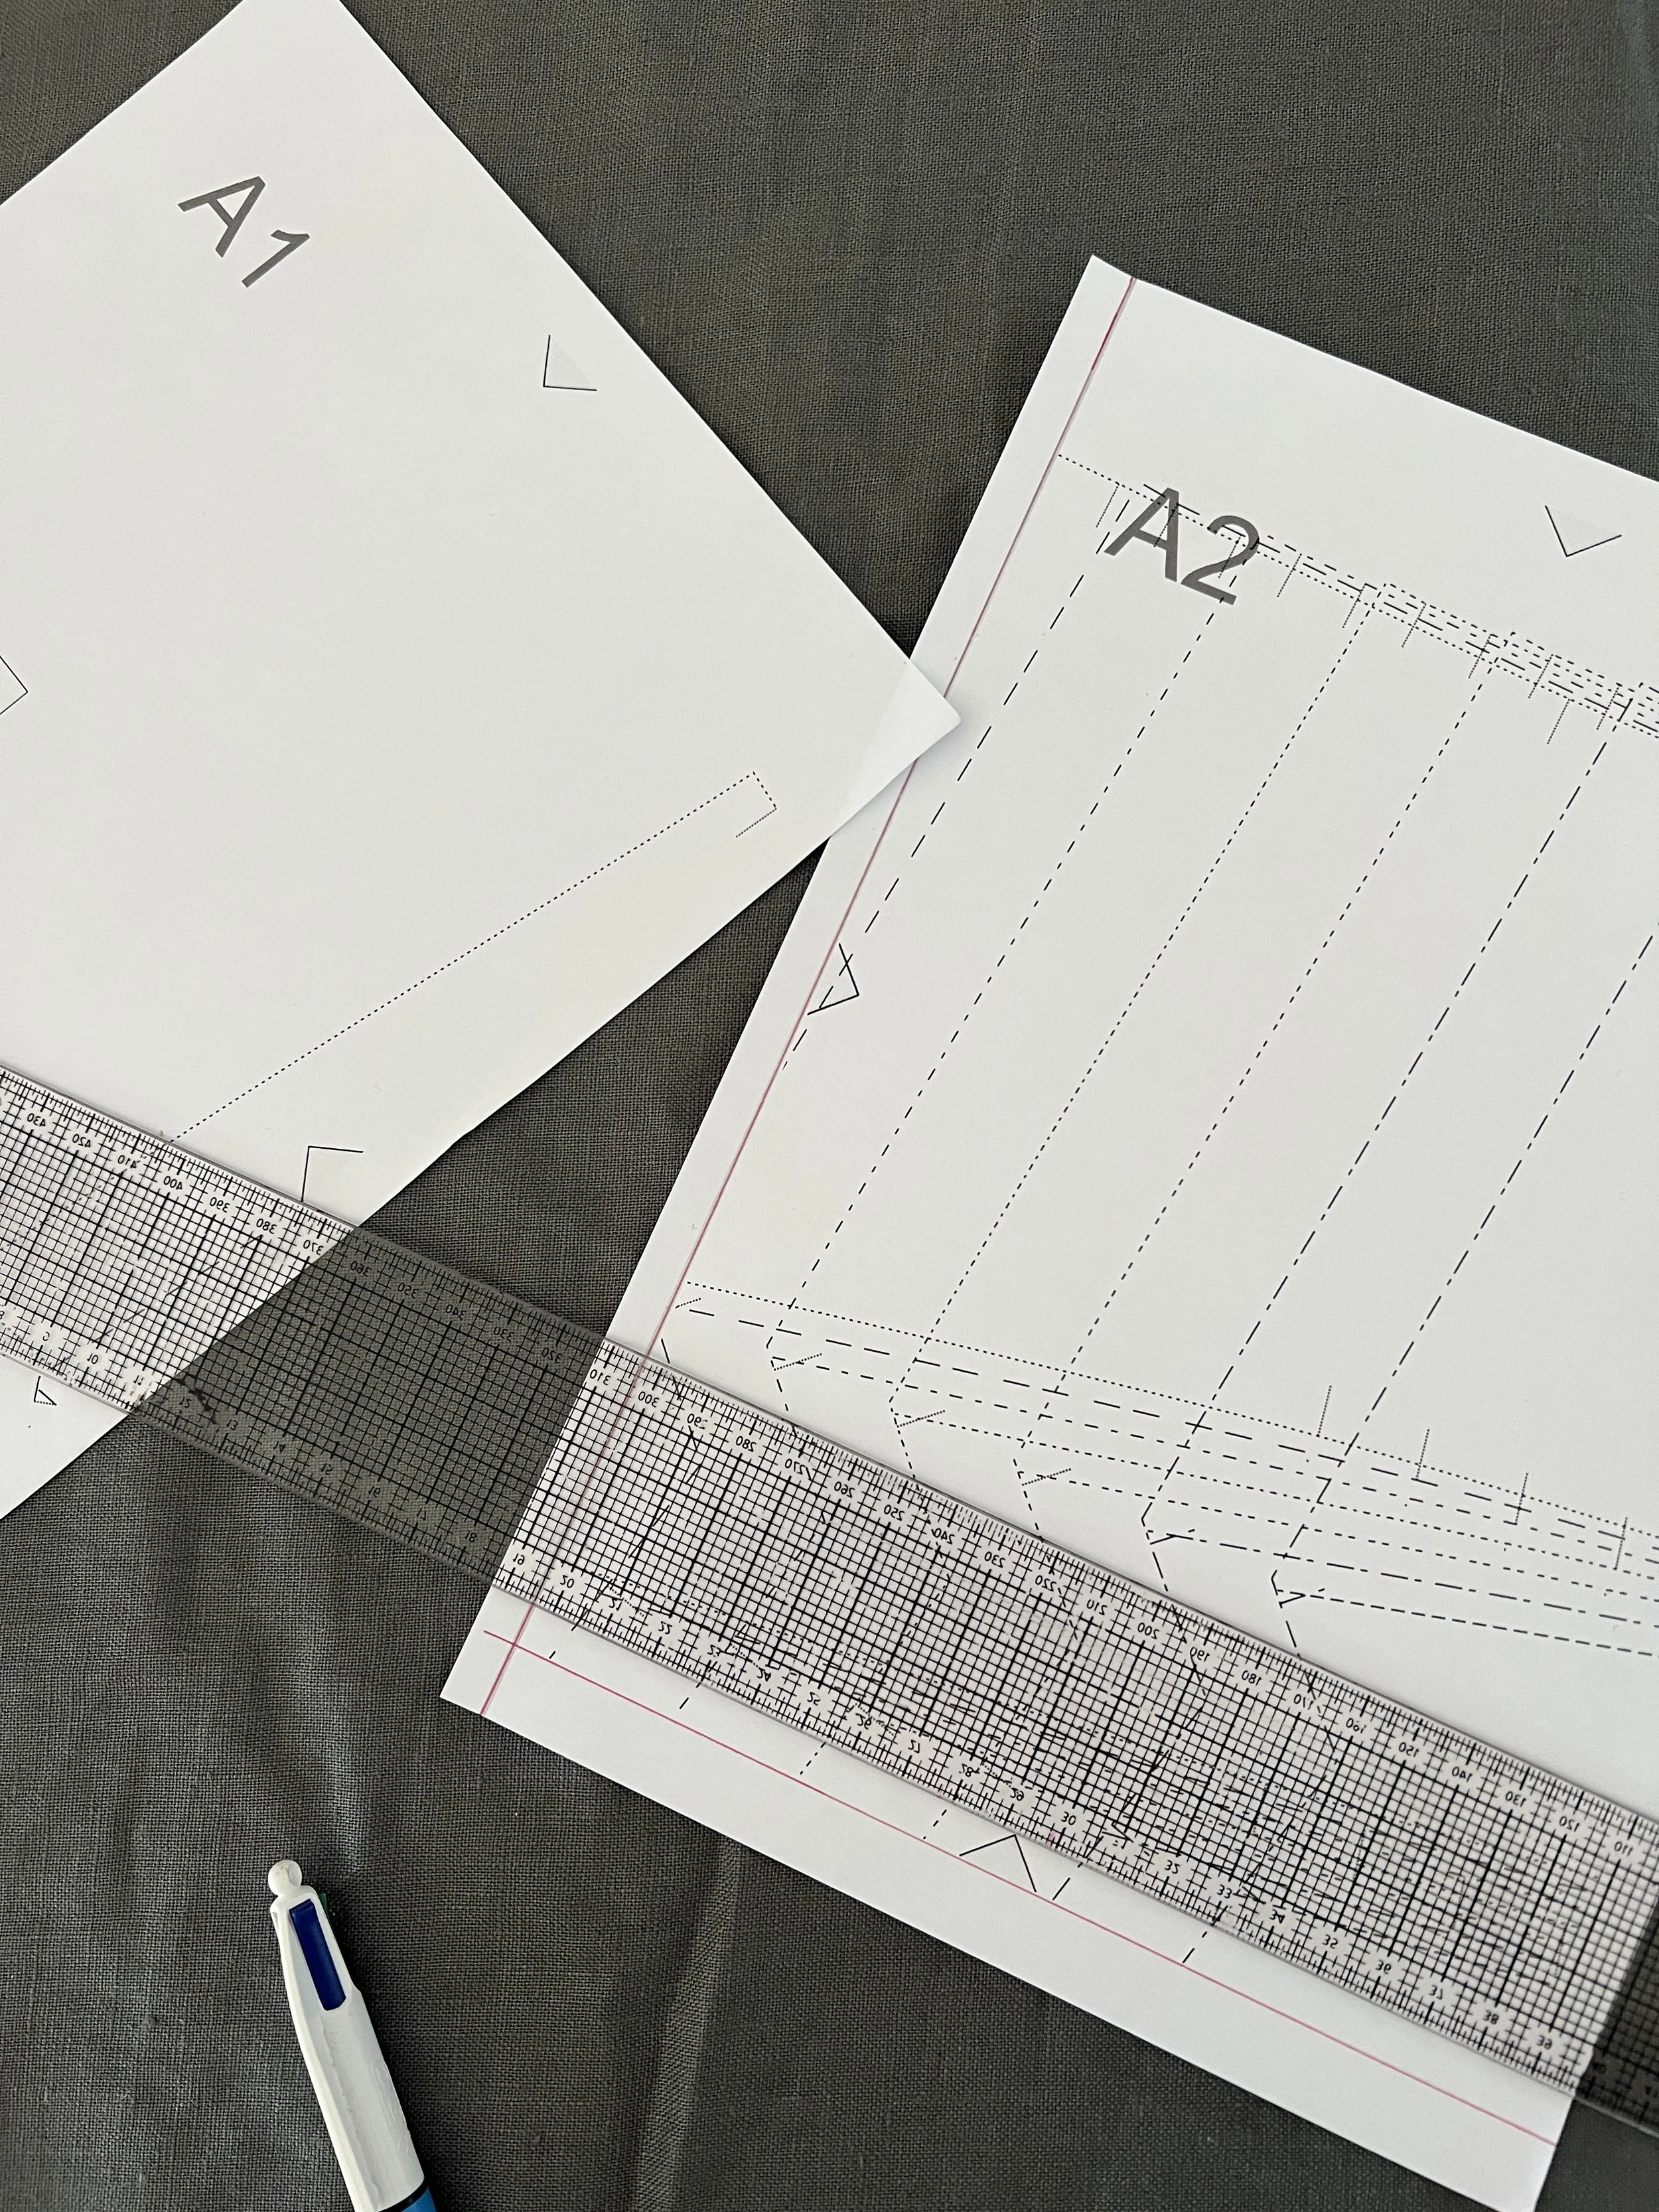
Step 2: Trim or Overlap Pages
Depending on the file setup, you’ll either:
Trace your edges with a pencil or pen, trim margins (usually top and right edges) so the lines meet cleanly, or
Overlap pages using alignment marks.
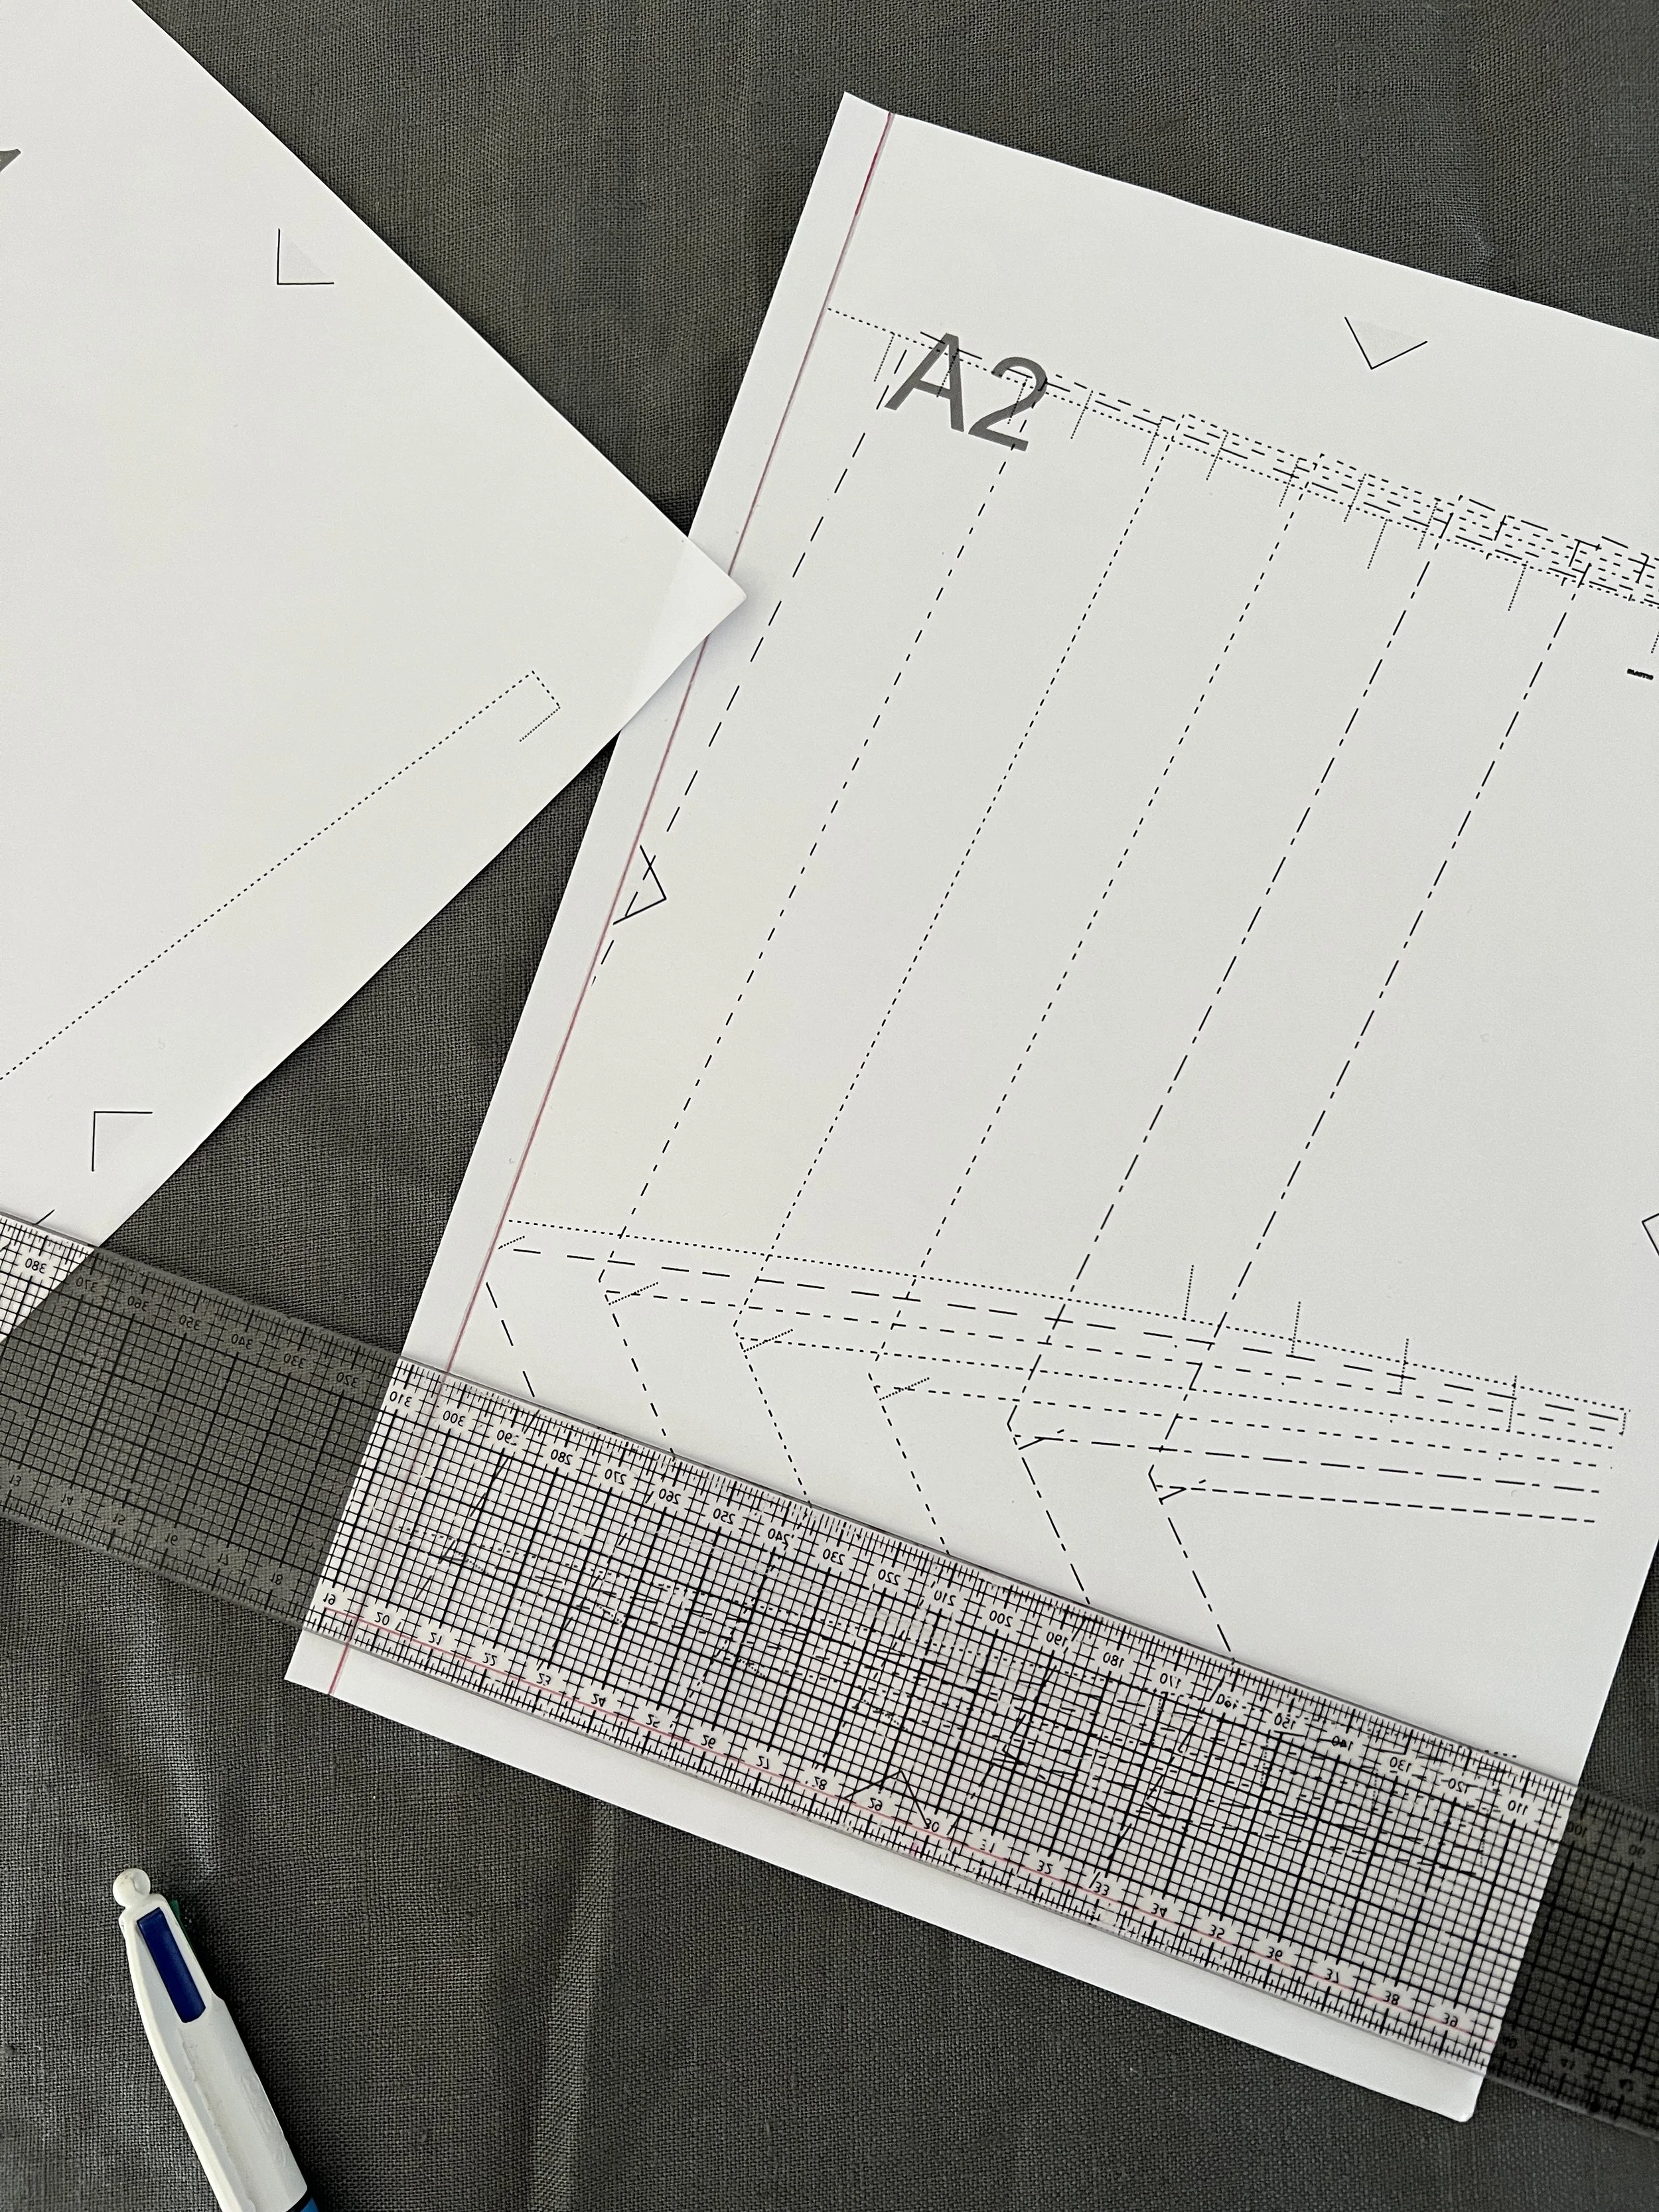
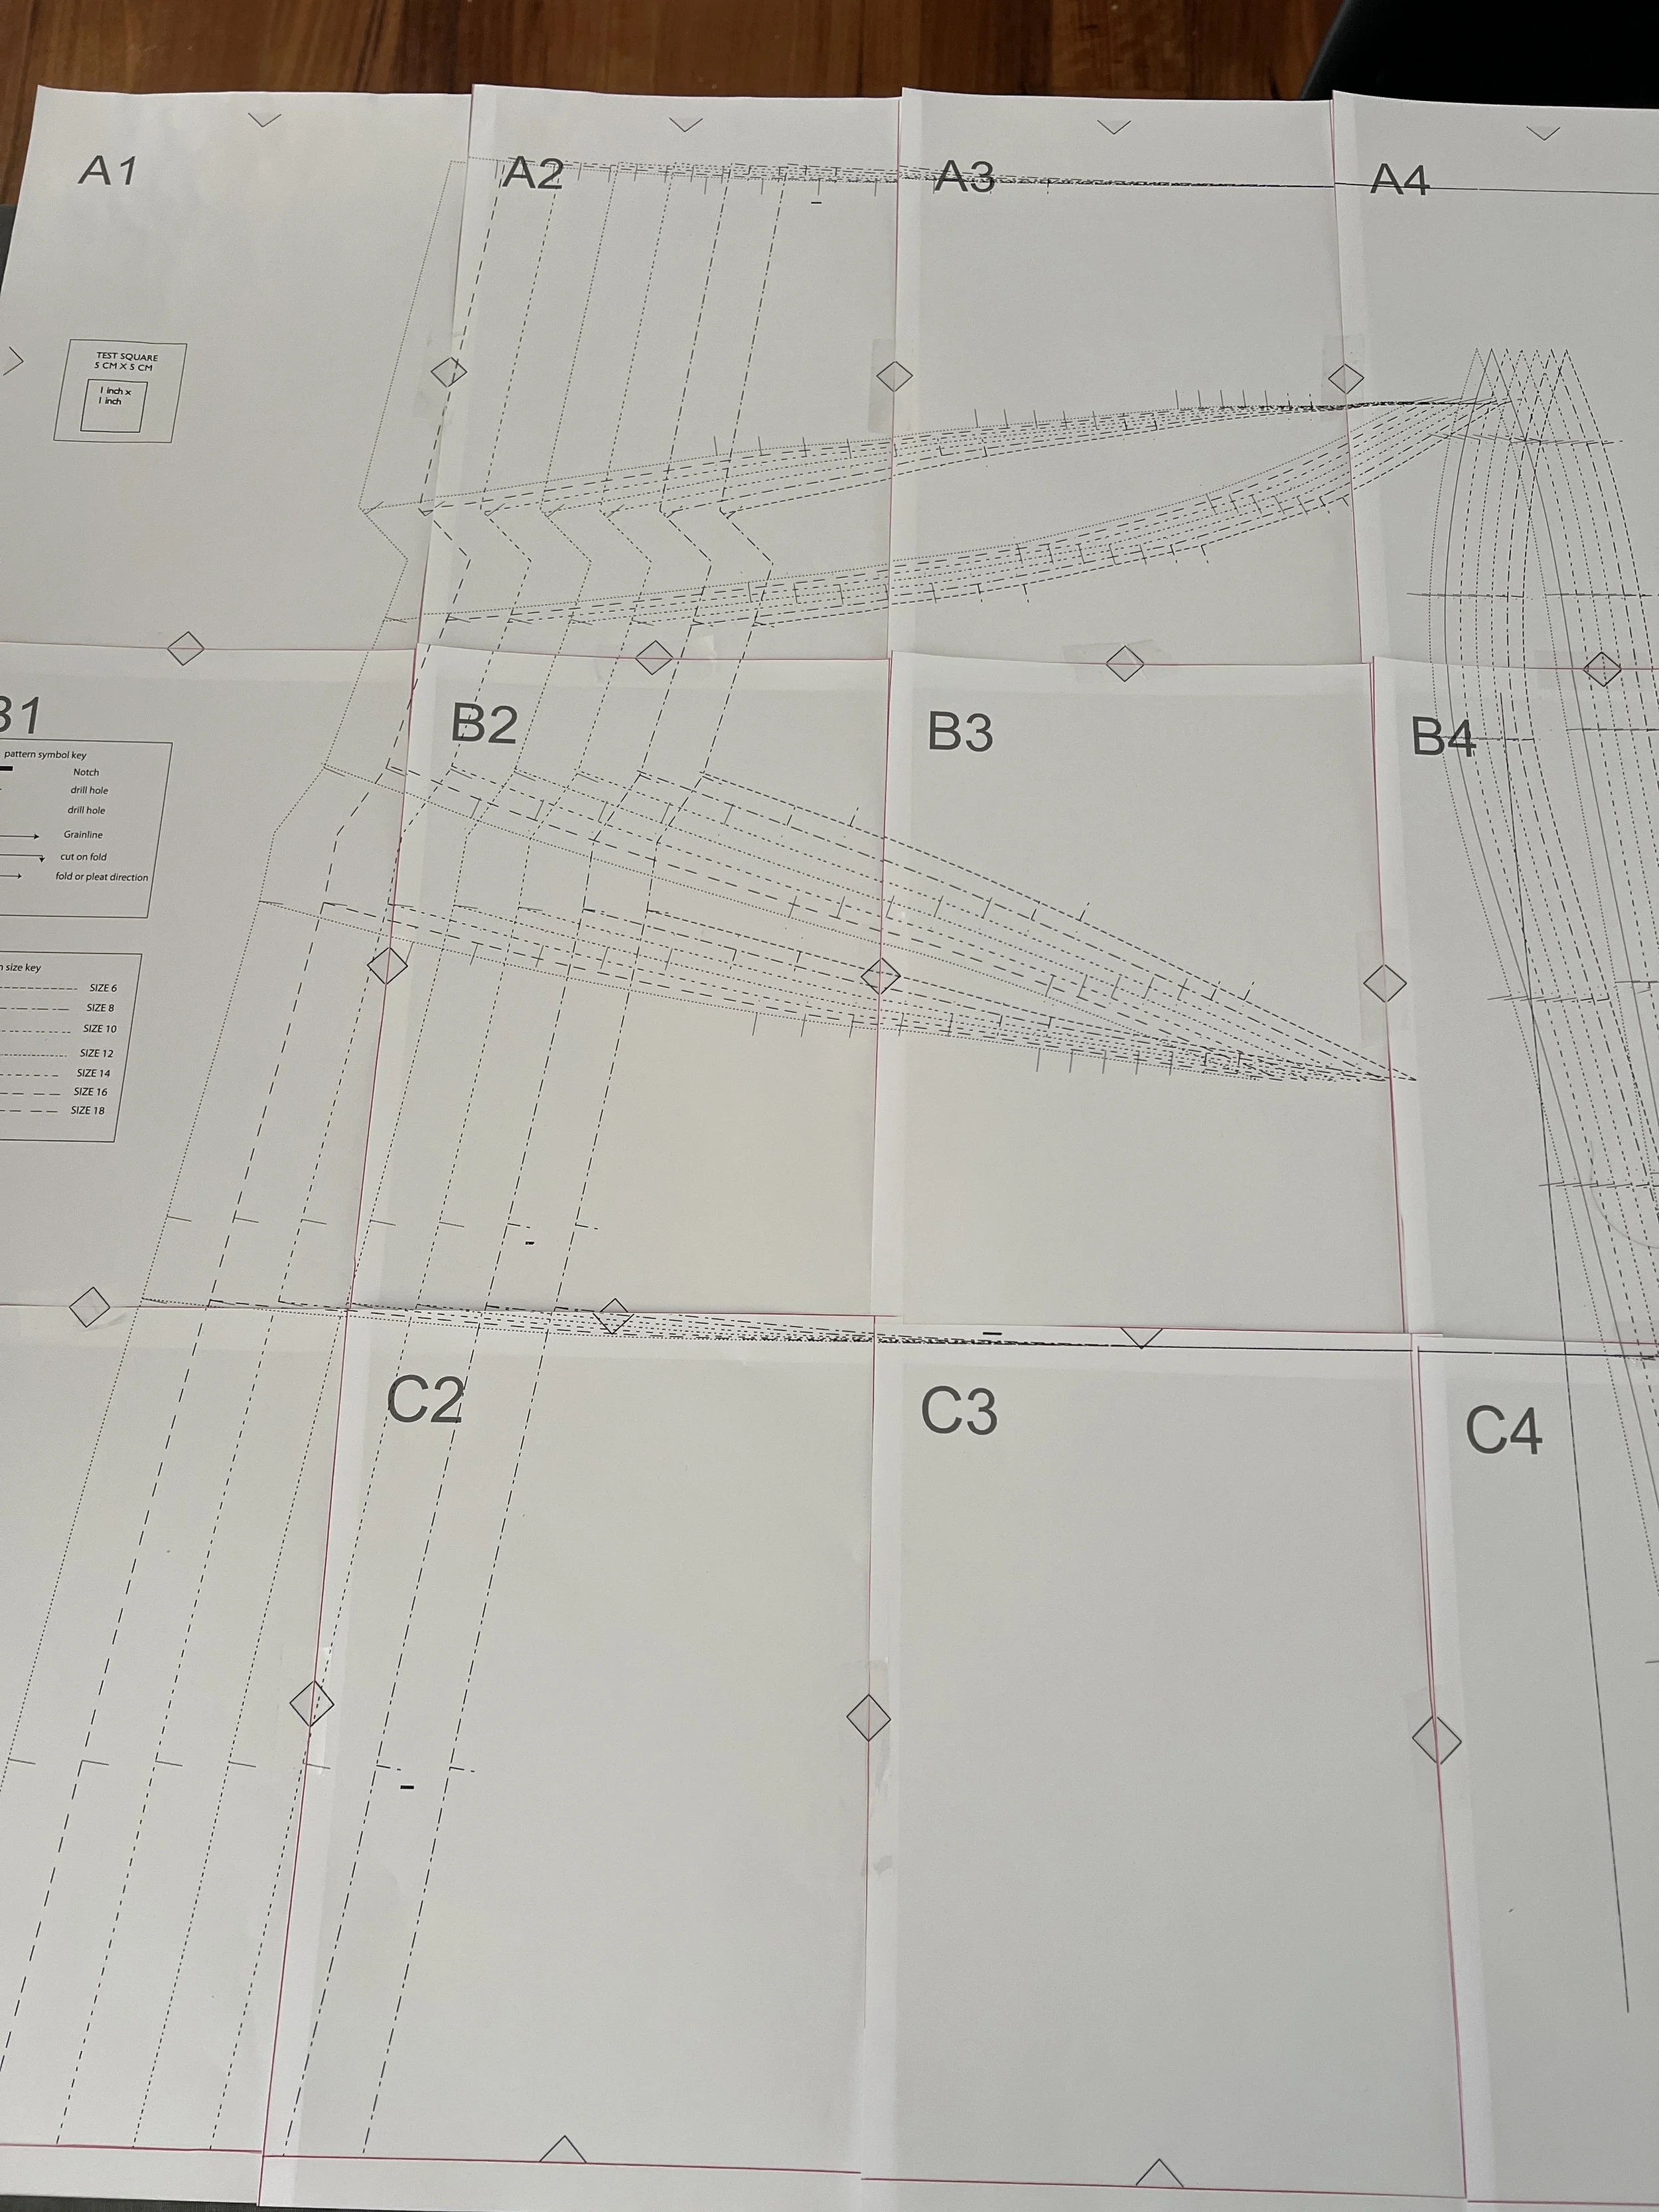
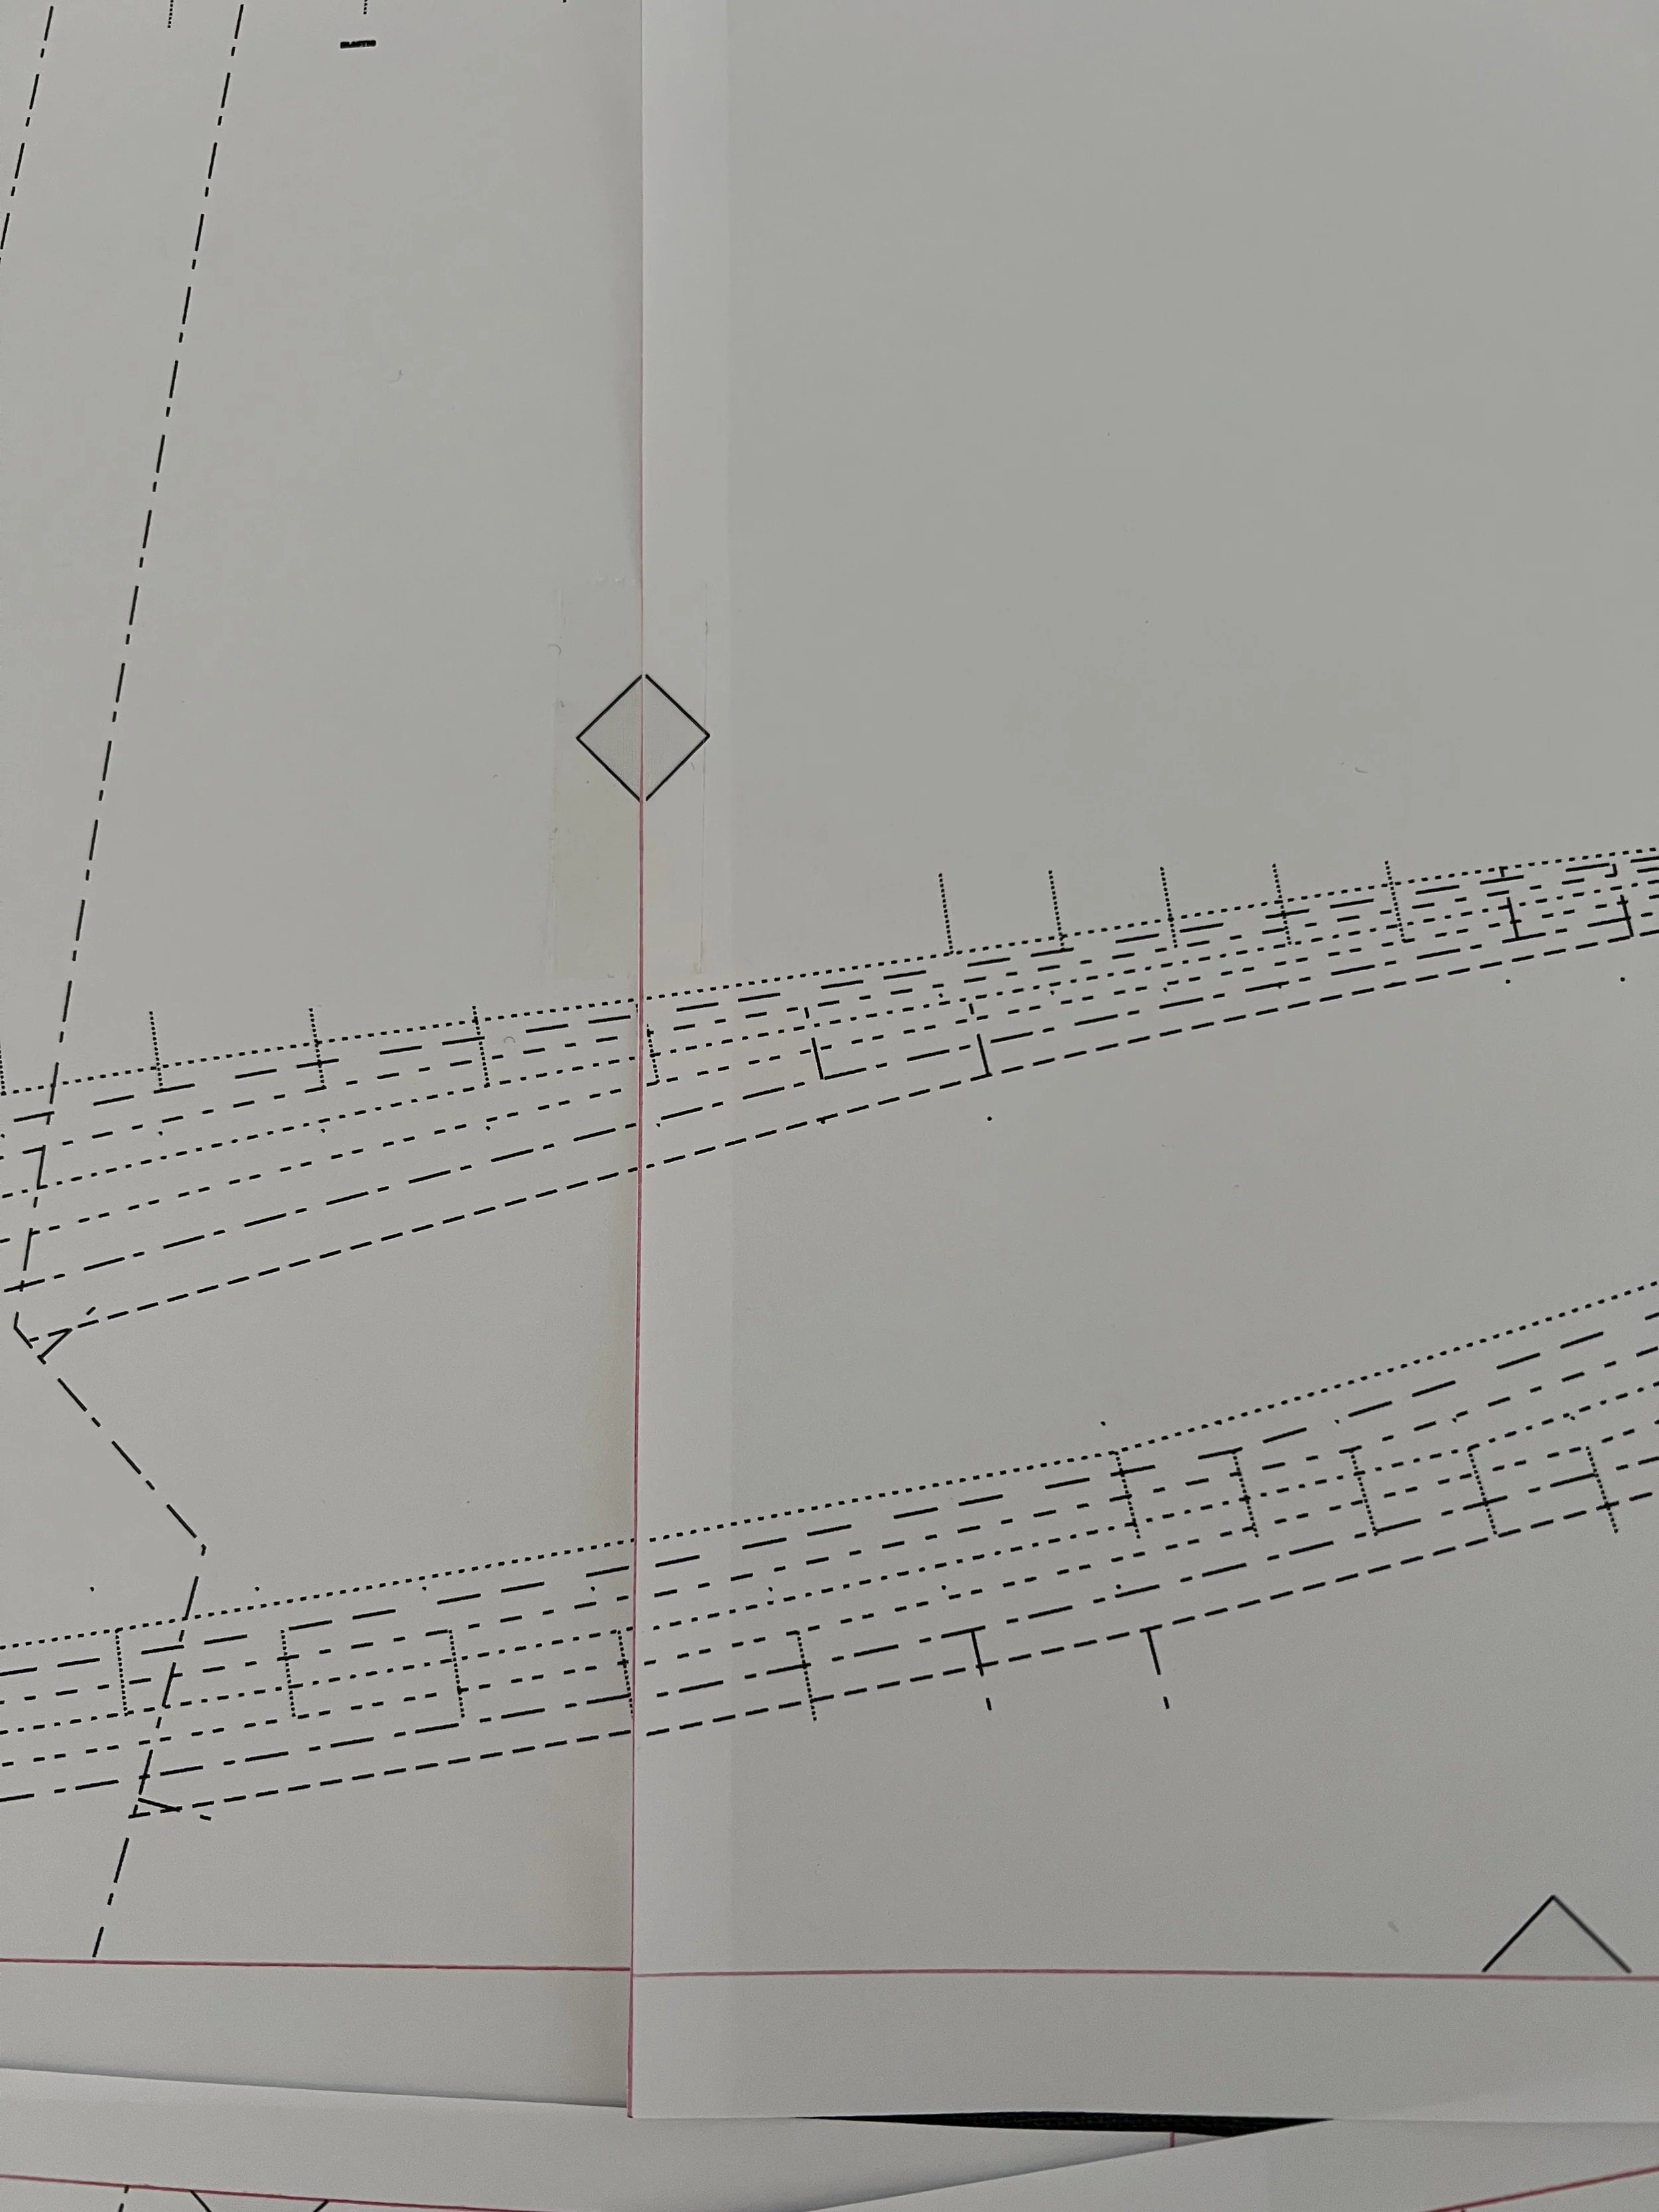
Step 3: Match Alignment Markers
Pages include markers (letters, numbers, or triangles) to guide assembly.
Lay pages out in rows and columns according to the layout diagram.
Align markers carefully so pattern lines flow smoothly.
Step 4: Tape or Glue Pages Together
Use small pieces of tape along the edges, or
Apply glue stick on overlaps.
Tip: Start from the centre and work outward to prevent shifting.
Step 5: Cut Out Your Pattern Pieces
Once assembled, cut along the solid lines. Your full-size sewing pattern is ready to pin, cut, or trace.
Extra Tips for Success
Print only the sizes you need if the file includes layered sizes—this saves ink and makes cutting easier.
Store assembled patterns in large envelopes or roll them for reuse.
For durability, trace onto lightweight interfacing or pattern paper and keep the original intact.
Assembling A4 patterns feels like a puzzle at first, but with practice, it becomes second nature. The reward is instant access to sewing patterns from designers worldwide.
Printing Large-Format A0 Patterns at a Copy Shop
If you’d rather skip taping, you can print the A0 copy shop file instead. Most print and copy shops can handle A0 size, but prices vary. Always request “100% / actual size, no scaling” when ordering.
At Templiq, most of our patterns fit on a single A0 sheet—saving both money and time.
Where to Print A0 Sewing Patterns
Australia
Officeworks – From $3.50 AUD per page. Ask for actual size printing (some staff may not be familiar with sewing patterns).
United States
PDF Plotting – $2.45 USD per page, shipped rolled. No layer selection.
Pattern Printing Company – $2.49 USD per page, shipped folded. Layer printing is available.
Stitch Sew Shop (VA) – $5.50 for up to 2 pages, $2.75 each additional. Local pickup or shipping, with layer printing available.
United Kingdom
Netprinter – From £1.75 per page. Shipped folded.
Canada
Practical Pixie Goods (Calgary) – $4 CAD per page (sales sometimes $3). Pickup or shipping. Layer printing is available.
Black Rabbit Fabric (BC) – $4 CAD per page. Folded or rolled. Layer printing is available.
Sew YYC (Calgary) – From $4–5 CAD per page. Folded or rolled. Pickup or shipping. Layer printing is available.